Since the wedding, I haven’t kept up with my acrylic nail appointments. There are various reasons including time, and it being an unnecessary expense. As much as I love having them on, it has made much more sense recently for me not too. I will be having them back on before the end of the year, my auntie gets married in October so if not before I will definitely be having them done for the hen night! But until then, I want to make them pretty. And I have to be honest, one thing I have missed with my nails on is trying out various different nail designs myself. And changing it when I feel like it!
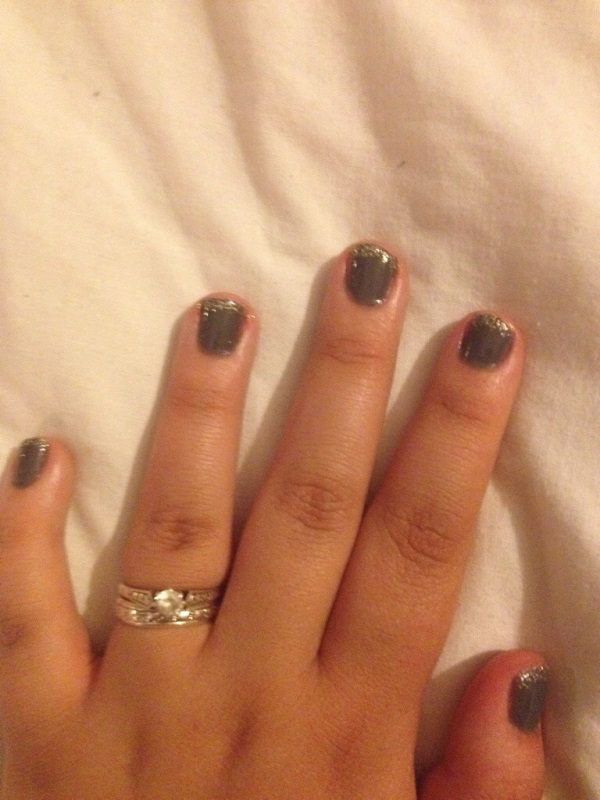
I love grey nails. I’ve had them similar to this professionally, although she used a different technique. But I do find sometimes just plain colour is a little boring. I don’t have the skills to do some of these amazing nail art designs out there so I wanted something simple but pretty. I personally think this ticks all the boxes!
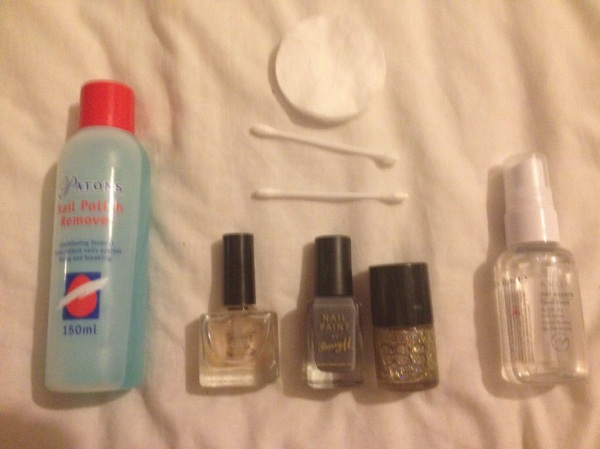
So today, I am using:-
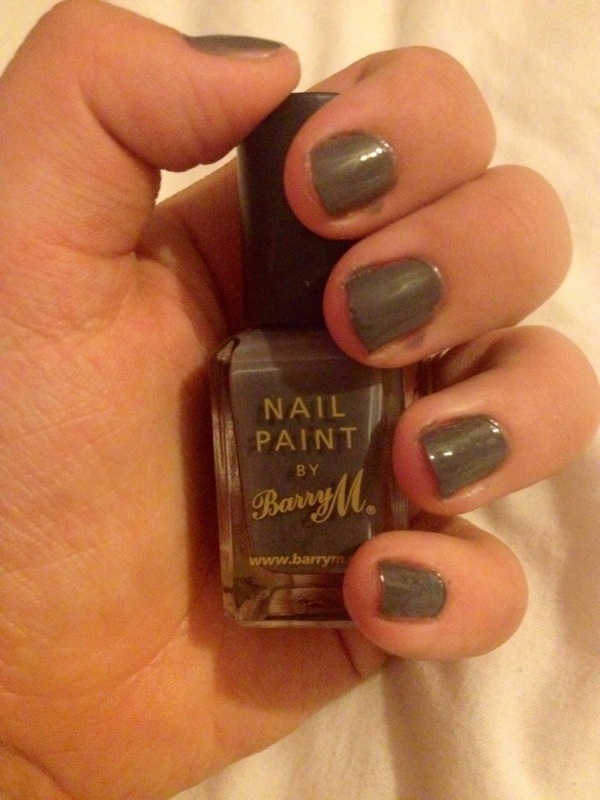
•Barry M nail paint in grey 293.
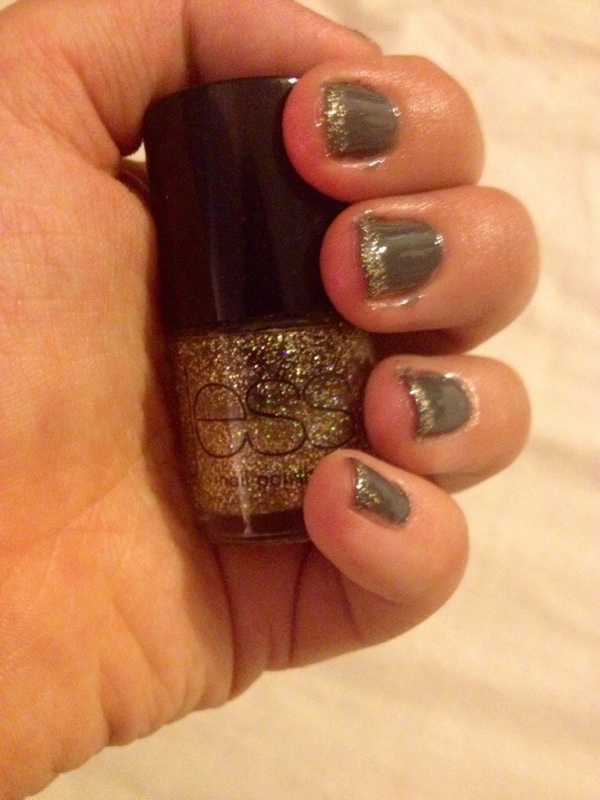
•Jess nail polish in celebration.
•Nail varnish remover, cotton wool pad and a cotton bud.
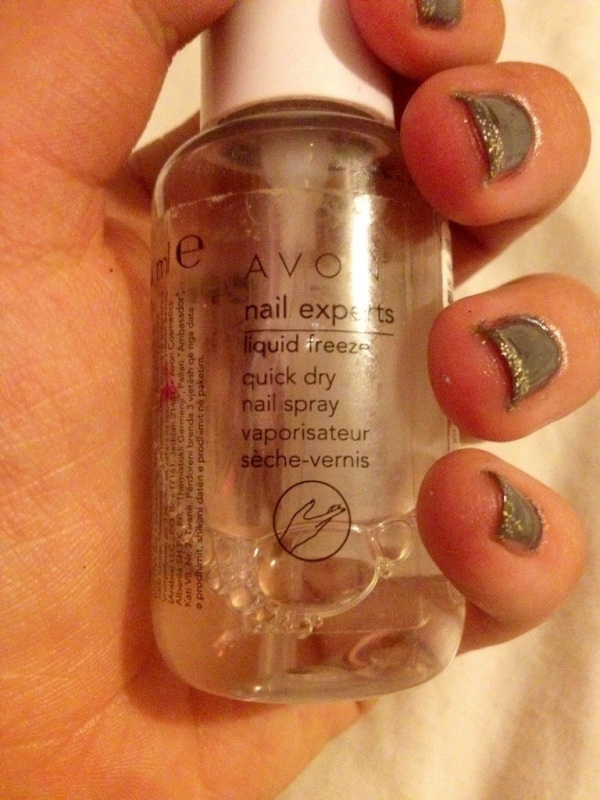
•Avon nail experts liquid freeze quick dry nail spray.
•topcoat/base coat.
First, I made sure my nails were clean and nail-polish free with a quick swipe all over with the remover before applying a base coat. I don’t know what brand it is, because I’ve had it for so long the label had come off.. Just use your favourite one! Then I used 2 coats of the Barry M nail paint. I use this colour on my nails a lot. I originally brought it because I think it’s a really great neutral colour but because it isn’t as harsh as black it is more wearable. At this point you can use a quick spray of the freeze spray, or wait for it to become touch-dry.
At this point, I used my Jess nail varnish. This is actually from poundland. Personally, I think it takes a long time to dry but I really love the colours in the glitter. I actually brought it for Lillee, as she loves to have her nails painted but she is worse than I am for chipping it, so I only buy her cheap ones for now.
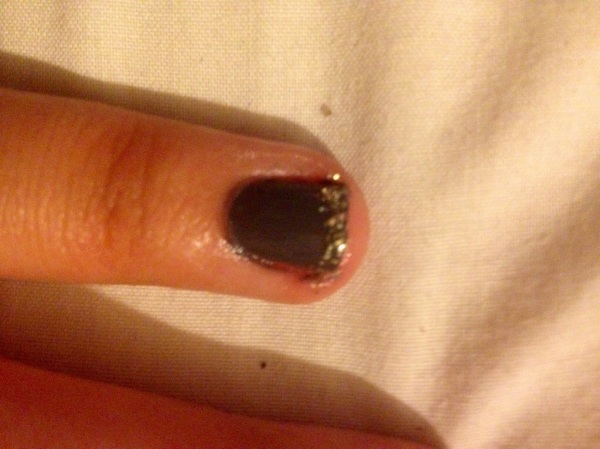
I carefully, put a thin-ish line across the tip of my nail in the glitter. It doesn’t have to be perfect, but I try to get as many glitter particles as I can closest to the tip of my nail so it creates a little gradient meaning the line doesn’t have to be straight. If you struggle with keeping it relatively even, you could use a French manicure template to get a more crisp edge.
I finished with a topcoat, a spritz of freeze dry spray, and cleaned up my edges with a cotton bud soaked in a little nail varnish remover. And there you have it!
I hope you like it!
Emma-Jayne xx


